ITU

KnowledgebaseEducation showcaseTry the showcase

Try the showcase

The National Learner Registry and Education Wallet showcase is a working demonstration of the education wallet building block: a learner registers with an identity credential from a Wallet on their phone, receives a Student ID and a diploma as verifiable credentials, pays the diploma fee with a payment credential, and applies for a job sharing only the fields the employer asks for. The whole journey takes about 12 minutes.

Open the showcase at the showcase landing page. A floating Demo guide on every screen carries the portal switcher and these instructions, and a pulsing highlight marks the next thing to click on each screen.

Before you start

Three things go onto your phone before the journey begins:

  1. A Wallet app. Download a Wallet such as the iGrant.io Data Wallet; the try-it-out instructions explain the install.
  2. A person identification credential (PID). Issue one to your Wallet from the demo PID issuer. It signs you in as the learner.
  3. A payment credential. Issue a payment account credential to the same Wallet from the demo payment credential issuer. It confirms the diploma fee.
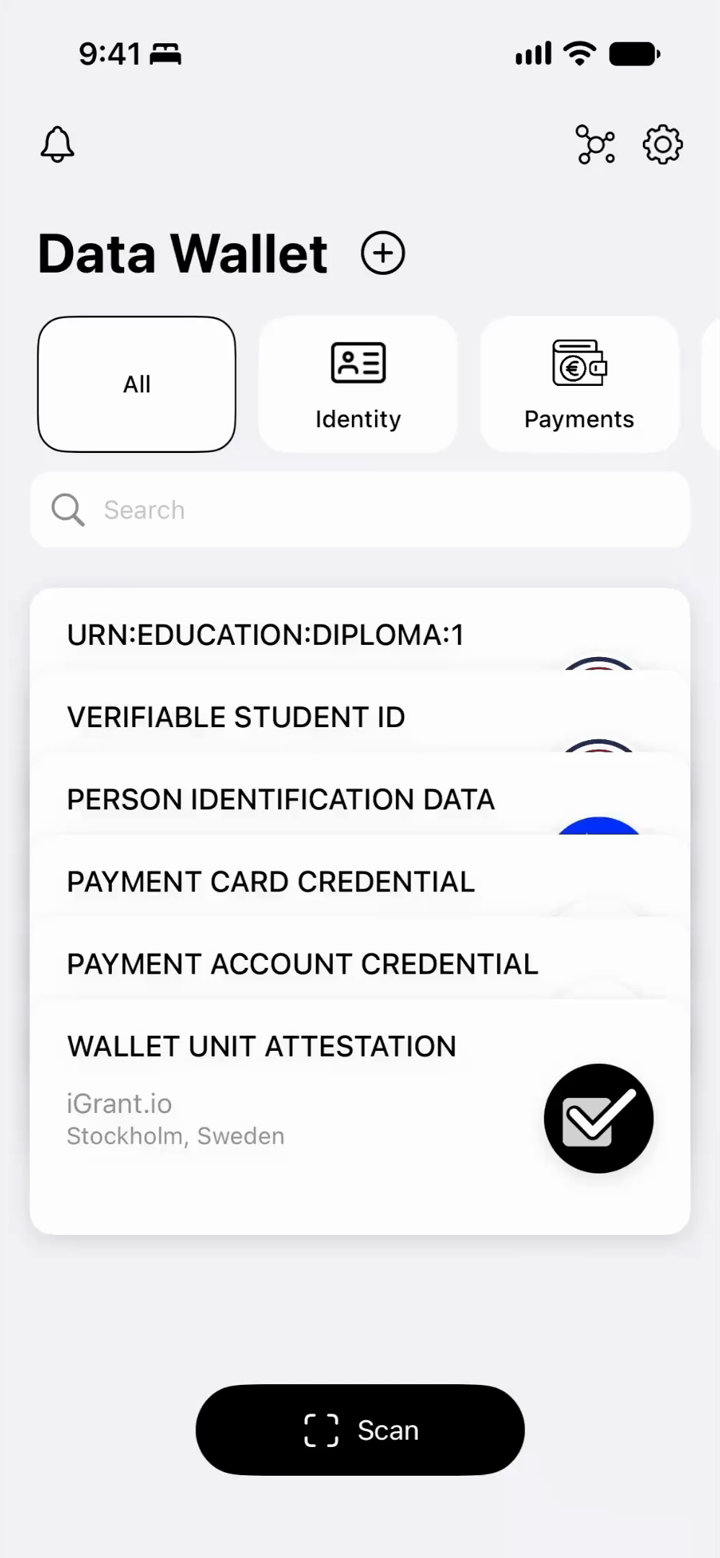
The Wallet app on a phone listing the credentials it holds: a person identification credential, a payment card credential, a Student ID, and a diploma.
The Wallet with the journey's credentials in place. The person identification and payment credentials are the prerequisites; the Student ID and diploma arrive during the walkthrough.

Step 1: Register as a learner

Open the National Education Portal and choose to sign in with your wallet. The portal shows a QR code; scan it with the Wallet and share your person identification data. There is no account and no password: the verified attributes are the sign-in.
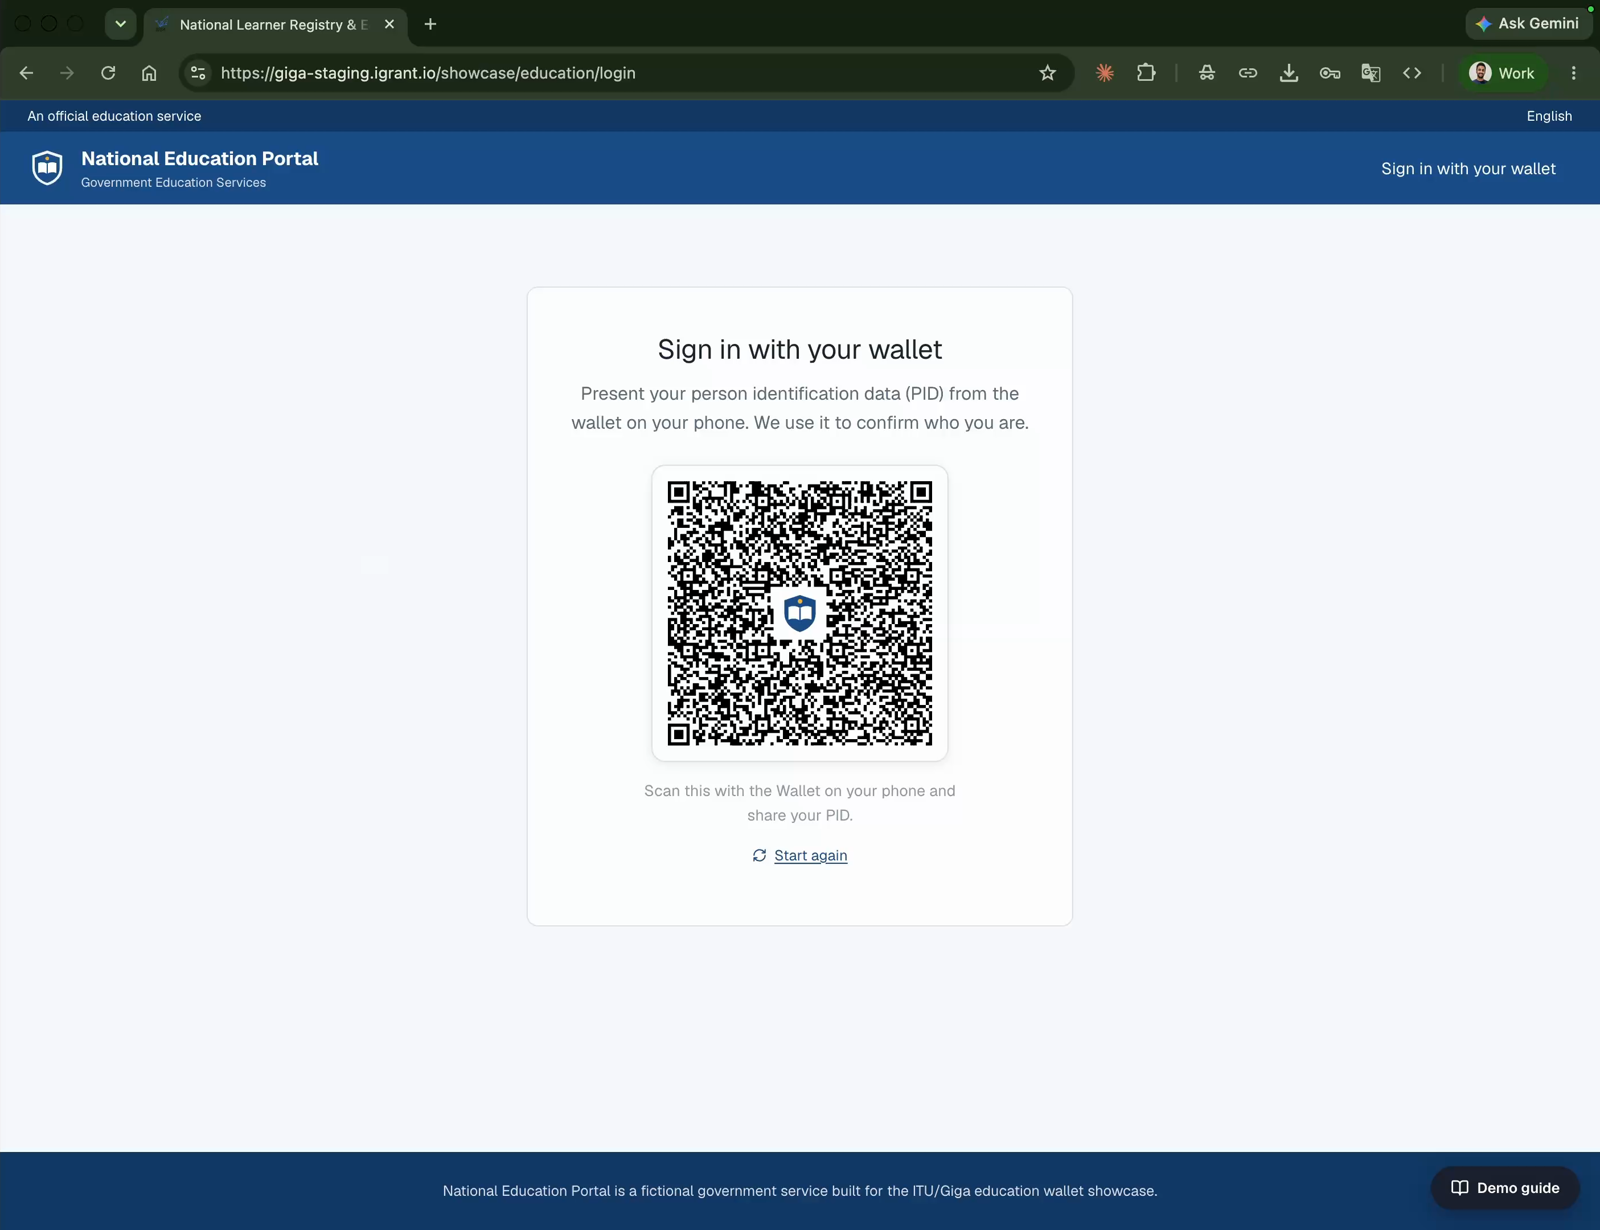
The National Education Portal sign-in page showing a QR code with the instruction to present person identification data from the wallet on your phone.
The education portal asks the Wallet for a person identification presentation instead of a password.
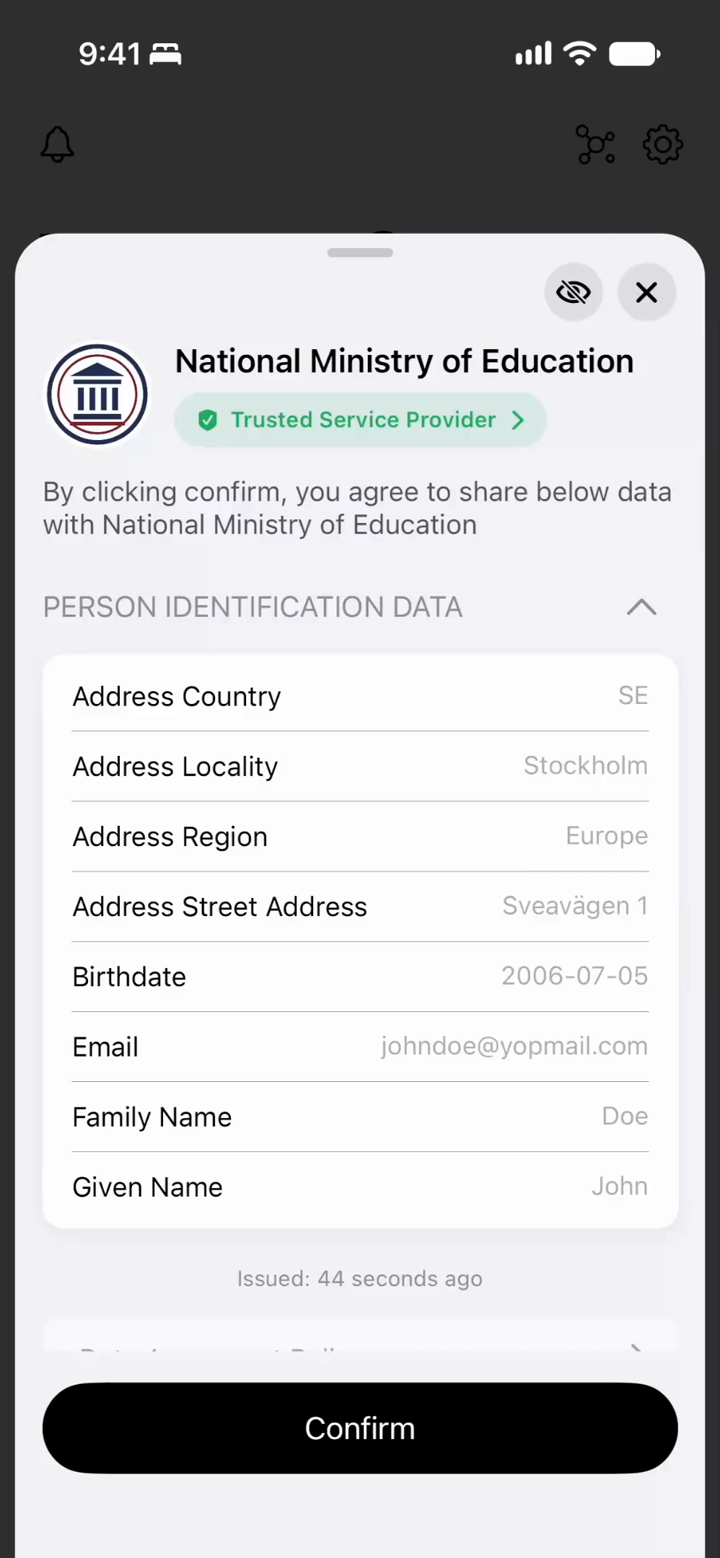
The Wallet consent sheet listing the person identification fields about to be shared with the National Ministry of Education: address, birthdate, email, family name and given name, with a Confirm button.
The Wallet shows exactly which identity fields the registry requests, and shares them only on Confirm.

The registration form arrives prefilled from the shared identity data. Complete the remaining fields, make your two optional data choices (analytics and later employer sharing; both can be changed at any time), and submit.
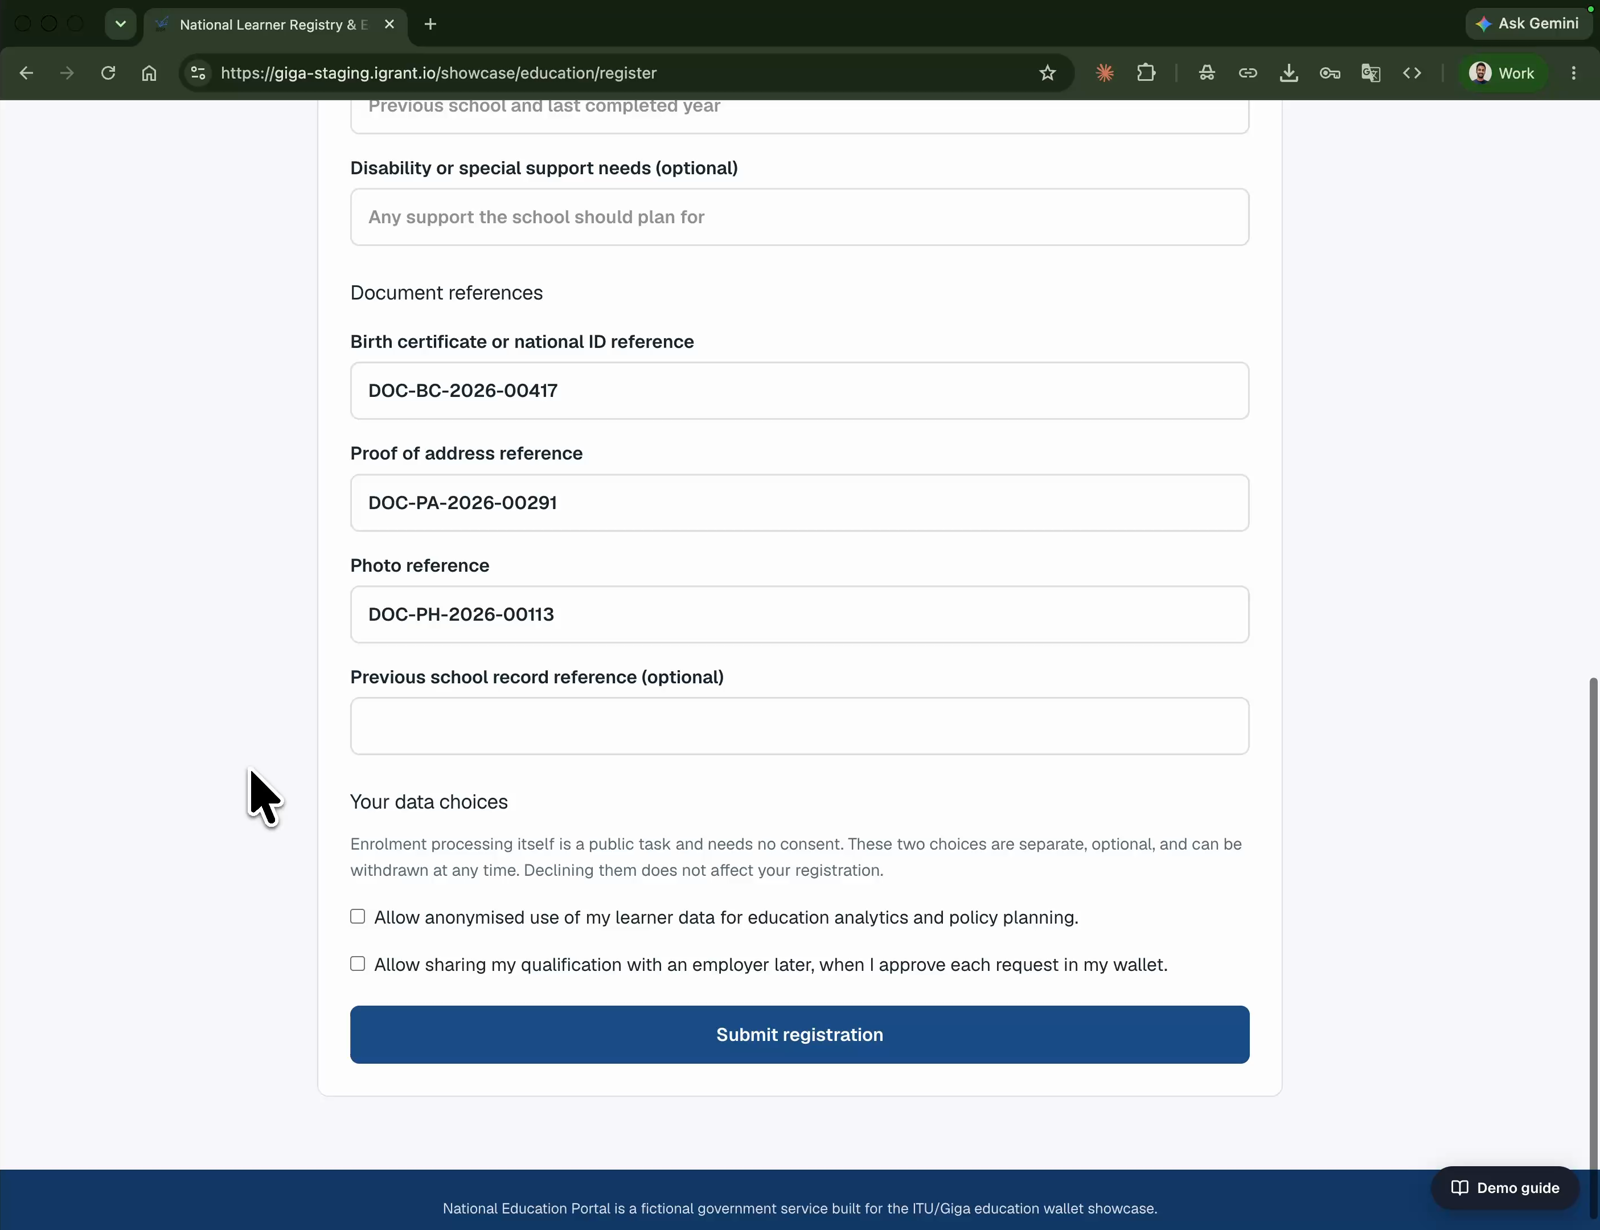
The registration form in the National Education Portal with document references filled in and two optional consent checkboxes for anonymised analytics and later employer sharing, above a Submit registration button.
Registration with document references and the two optional, revocable data choices.

Step 2: Document review; enrolment is automatic

In Riverside Admissions, the school officer opens the application and validates the documents. Everything after that click is automatic: the registry generates the learner identifier, creates the authoritative record, and offers the Student ID credential to the learner's Wallet.
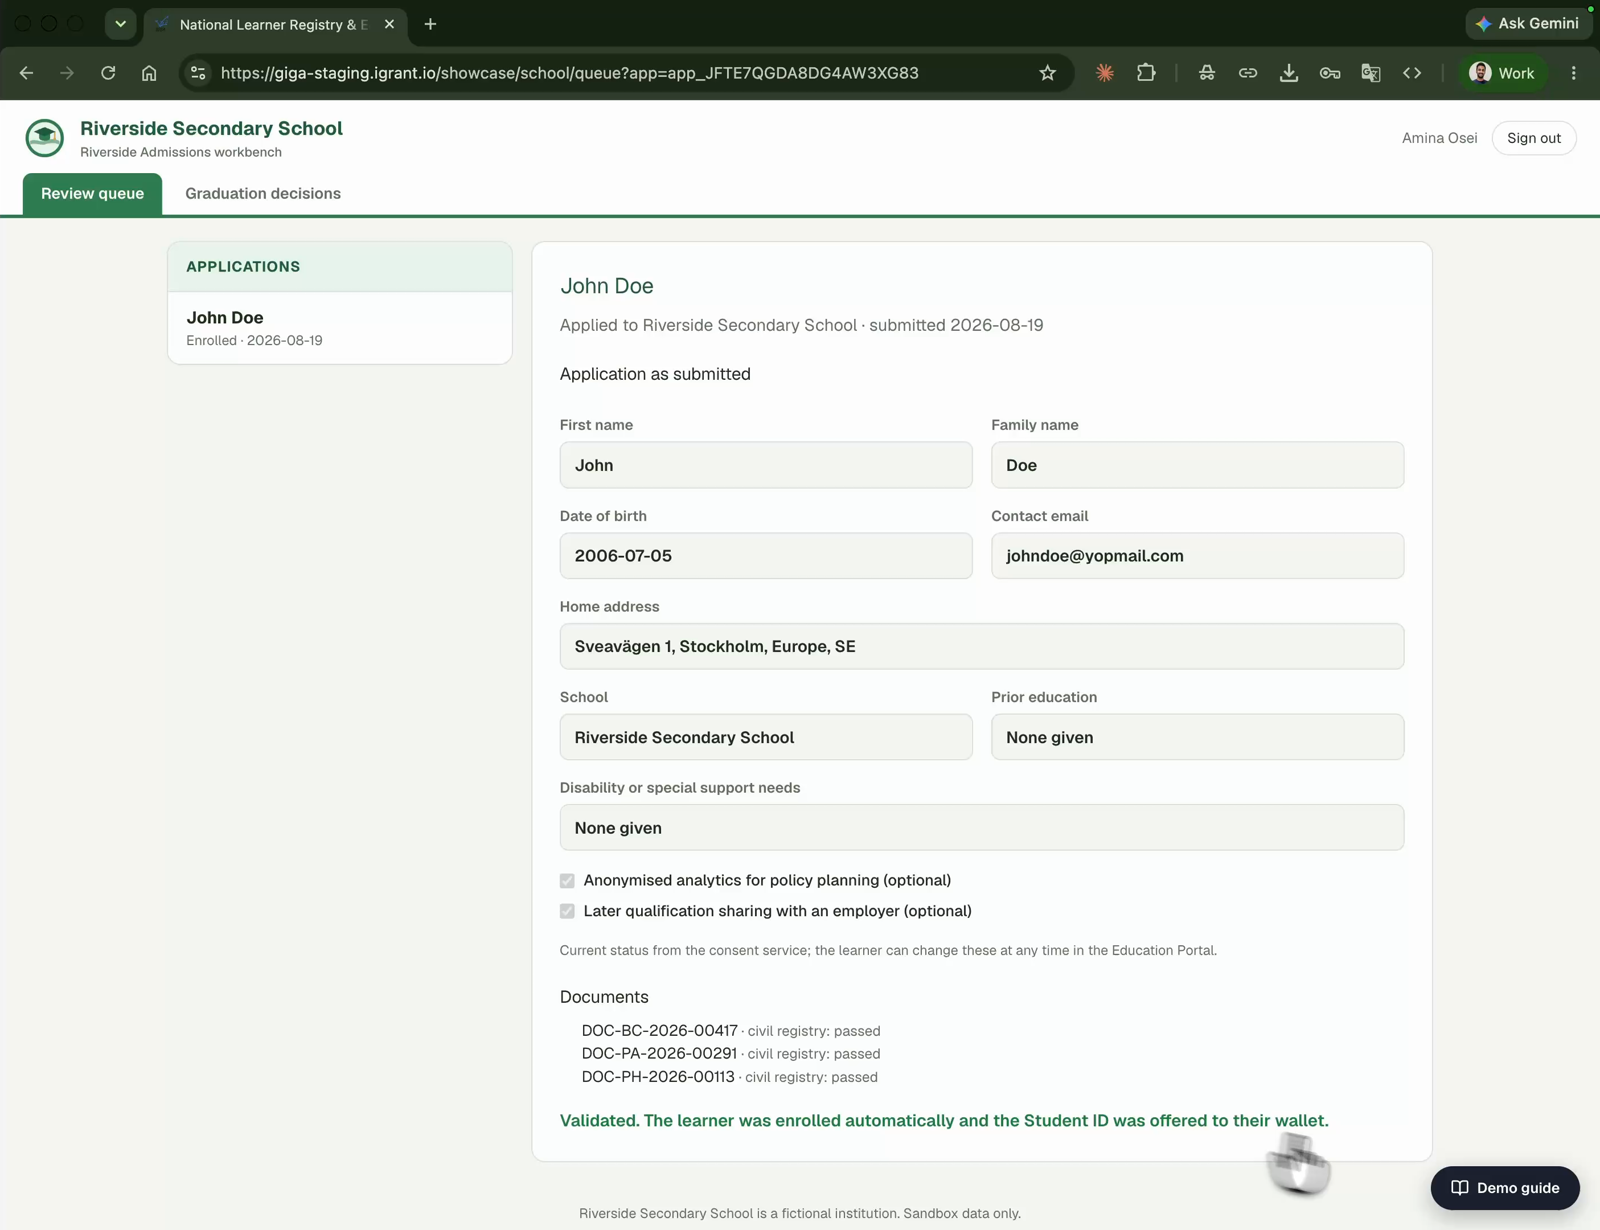
The Riverside Admissions review screen showing the submitted application, the current consent states from the consent service, passed document checks, and the confirmation that the learner was enrolled automatically and the Student ID was offered.
The school validates; the registry enrols automatically. The consent states shown are live from the consent service.

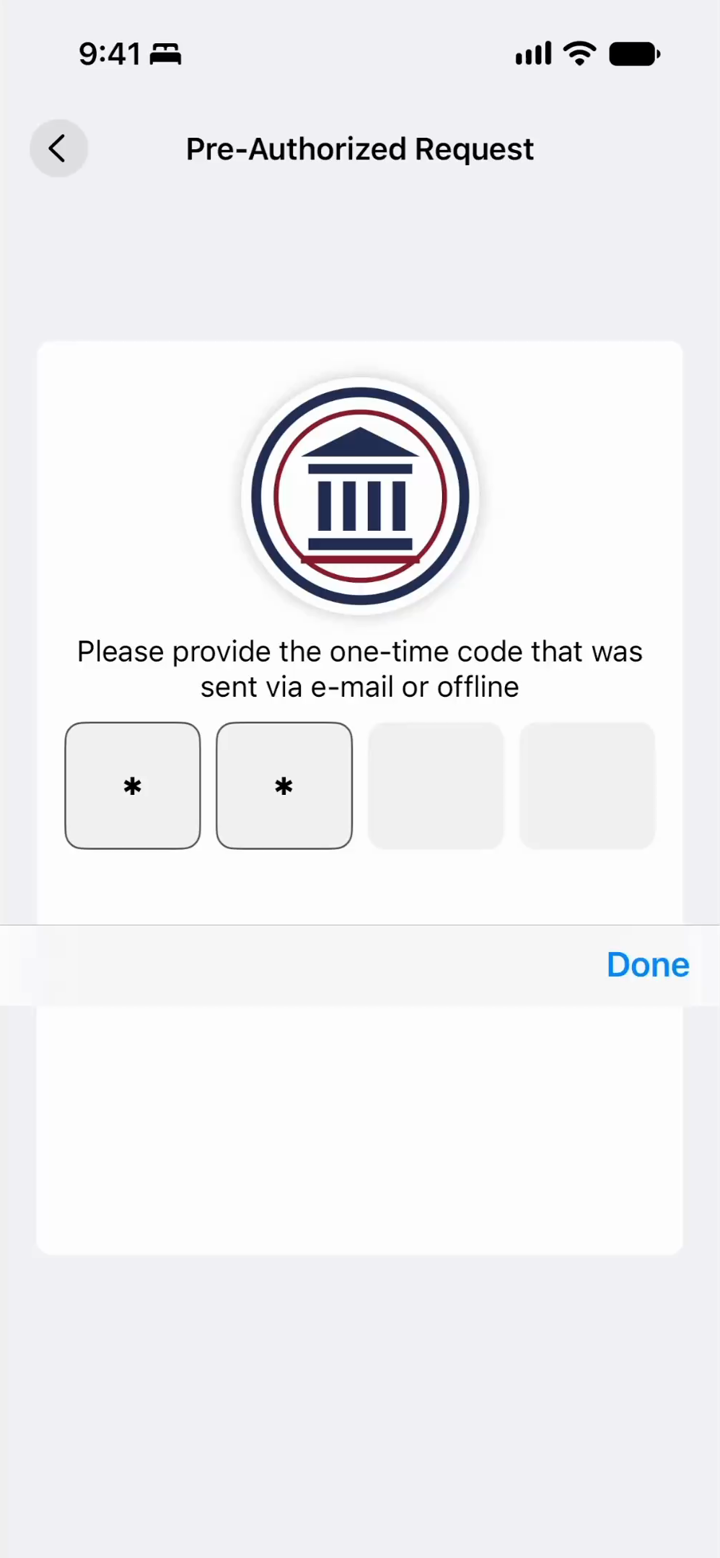
Back in the Education Portal, the learner scans the Student ID offer and types the transaction code shown under the QR into the Wallet.
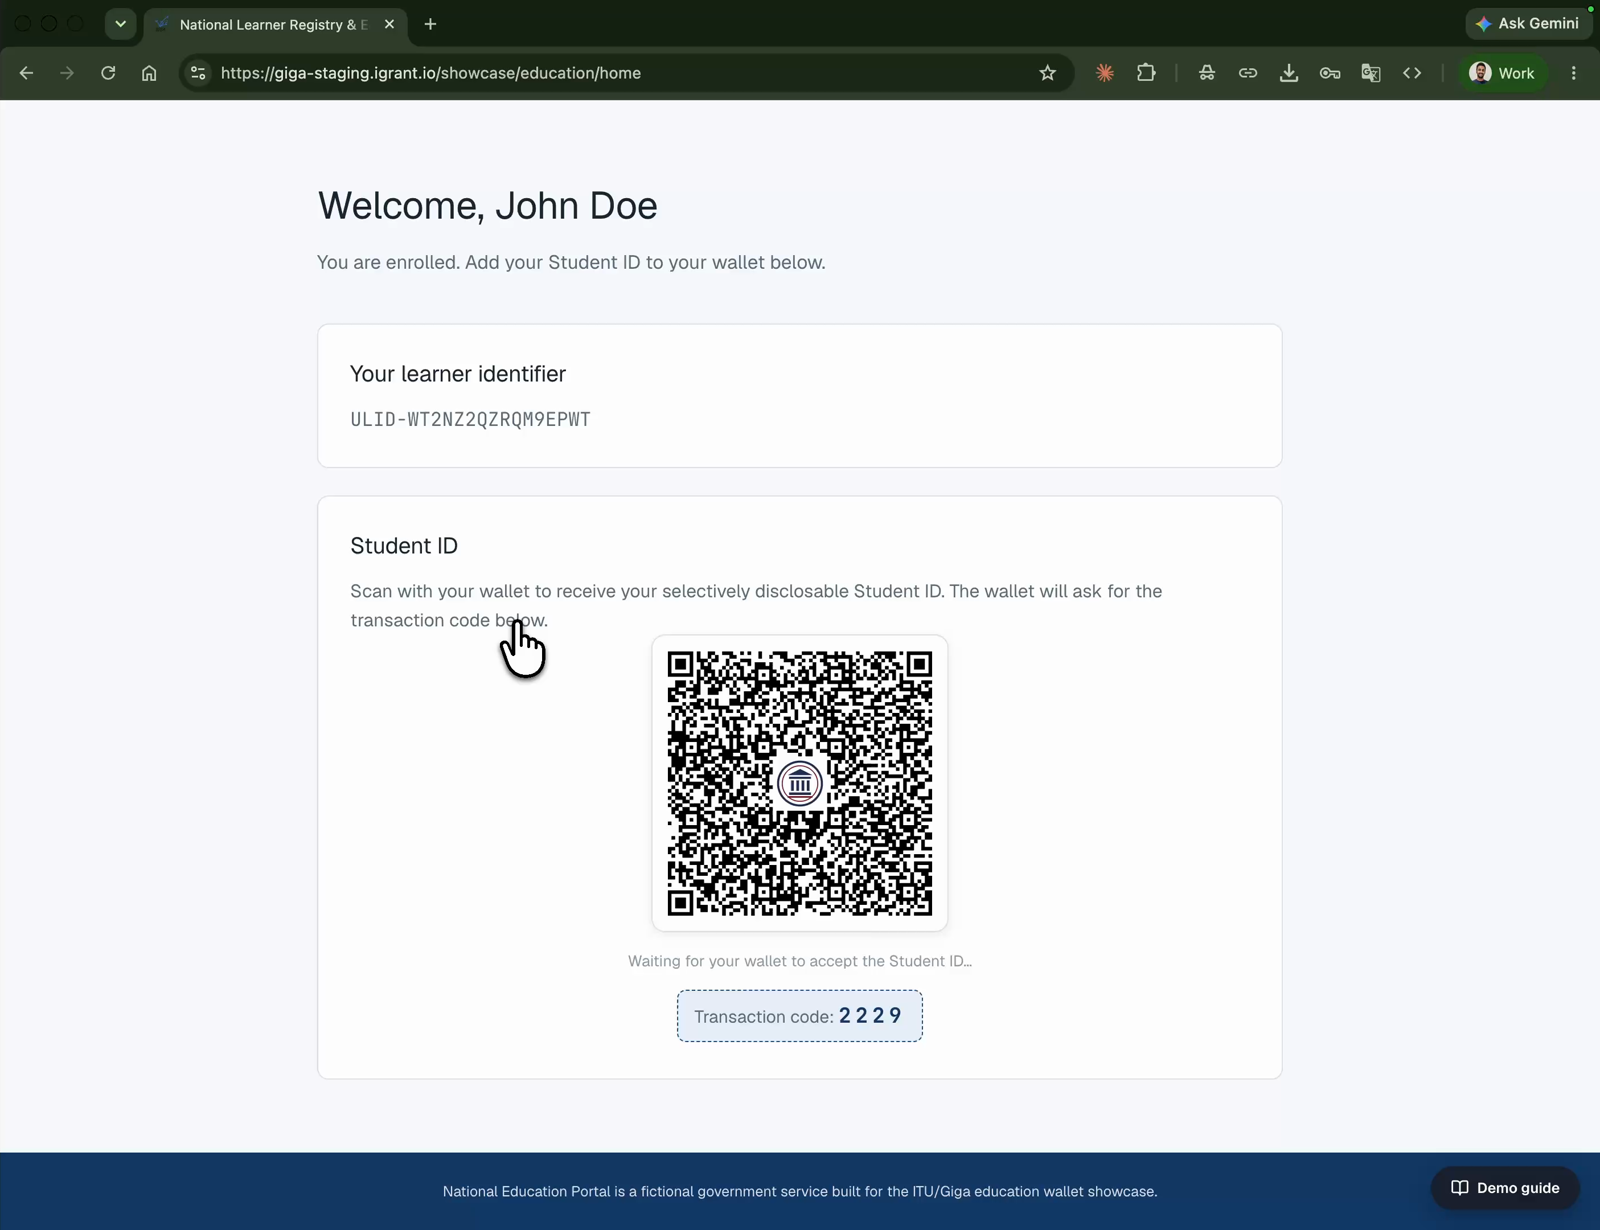
The learner's home page in the National Education Portal showing the generated learner identifier and a QR code offering the Student ID credential, with a transaction code printed beneath.
The Student ID offer with its transaction code: a pre-authorised issuance that the Wallet completes.
The Wallet asking for the one-time transaction code for the pre-authorised Student ID issuance, showing the Ministry seal and four code entry boxes.
The Wallet asks for the one-time code before accepting the pre-authorised issuance.

Step 3: Graduate, pay, and receive the diploma

In Riverside Admissions, submit the signed graduation decision. The registry validates the institution automatically and the diploma fee falls due for the learner.
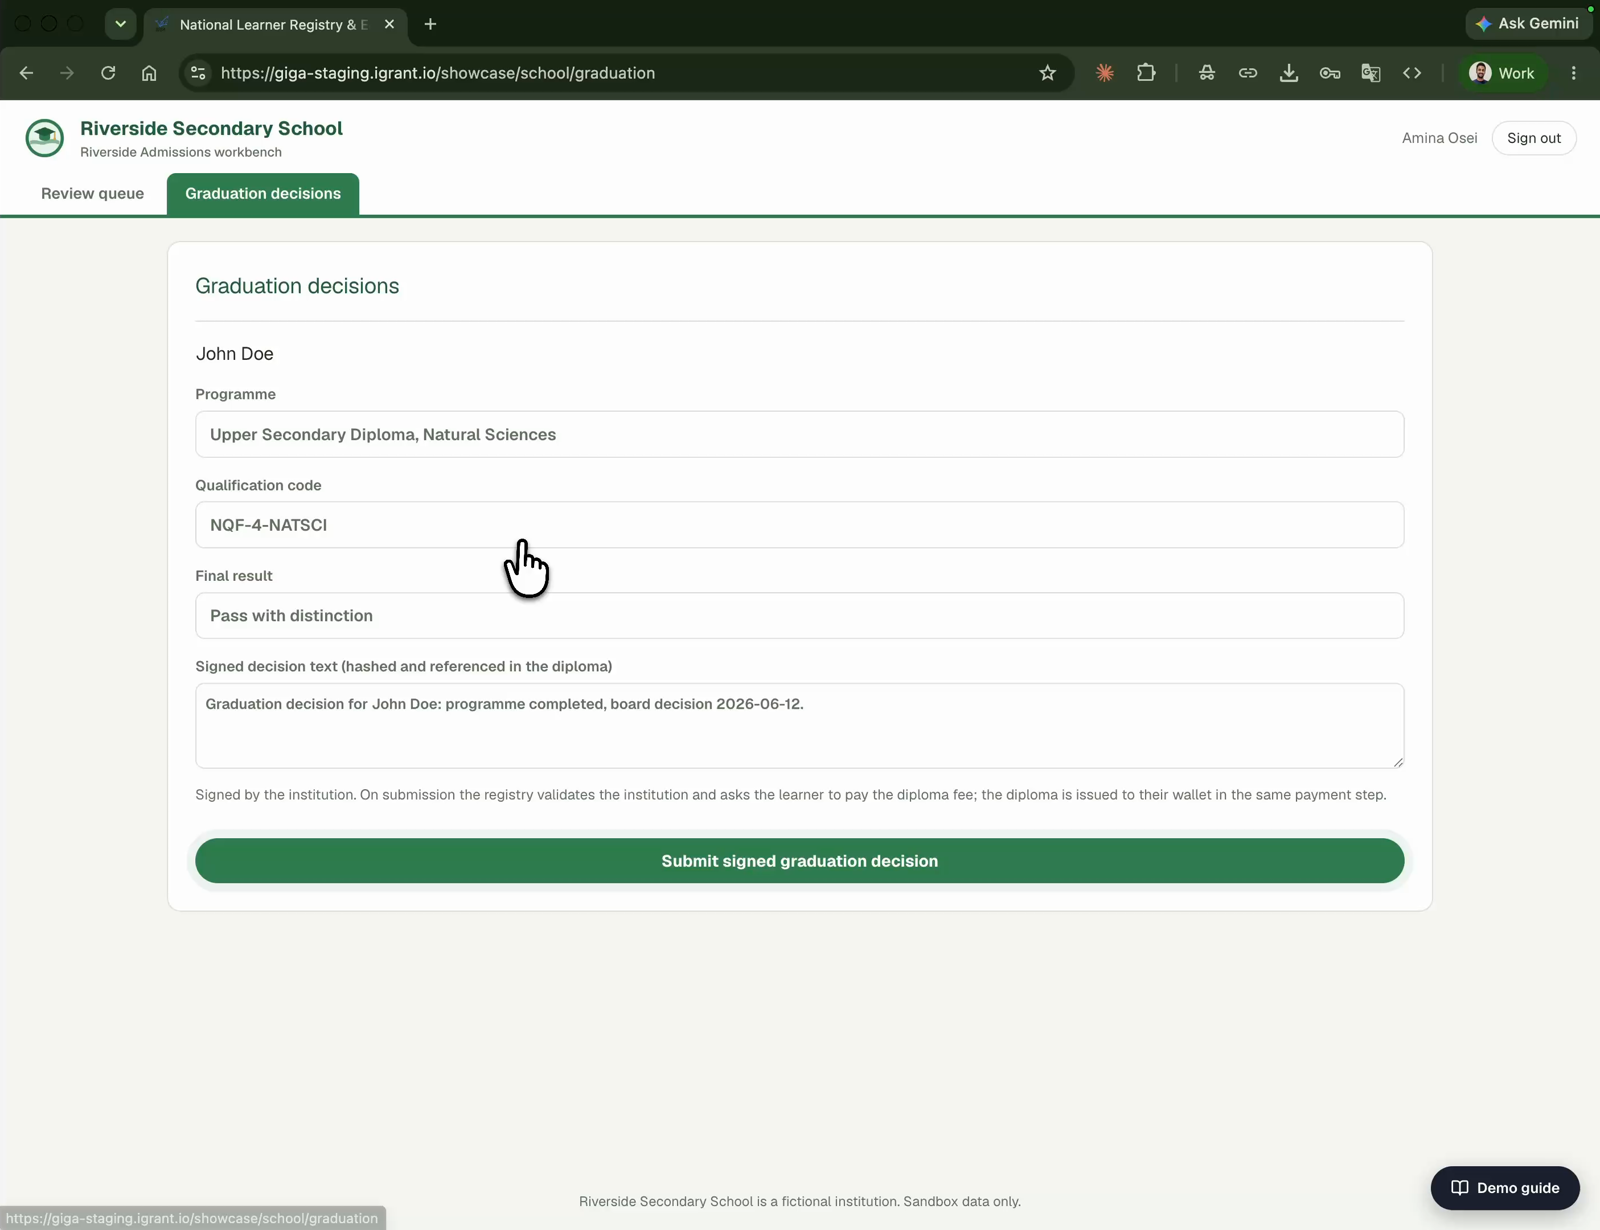
The graduation decision form in Riverside Admissions with programme, qualification code, final result and the signed decision text, above a submit button.
The school signs and submits the graduation decision; its text is hashed and referenced inside the diploma.

In the Education Portal, choose to pay from your account or by card. One scan does both halves: the Wallet presents the chosen payment credential with the transaction details, and the diploma is issued to the Wallet in the same session.
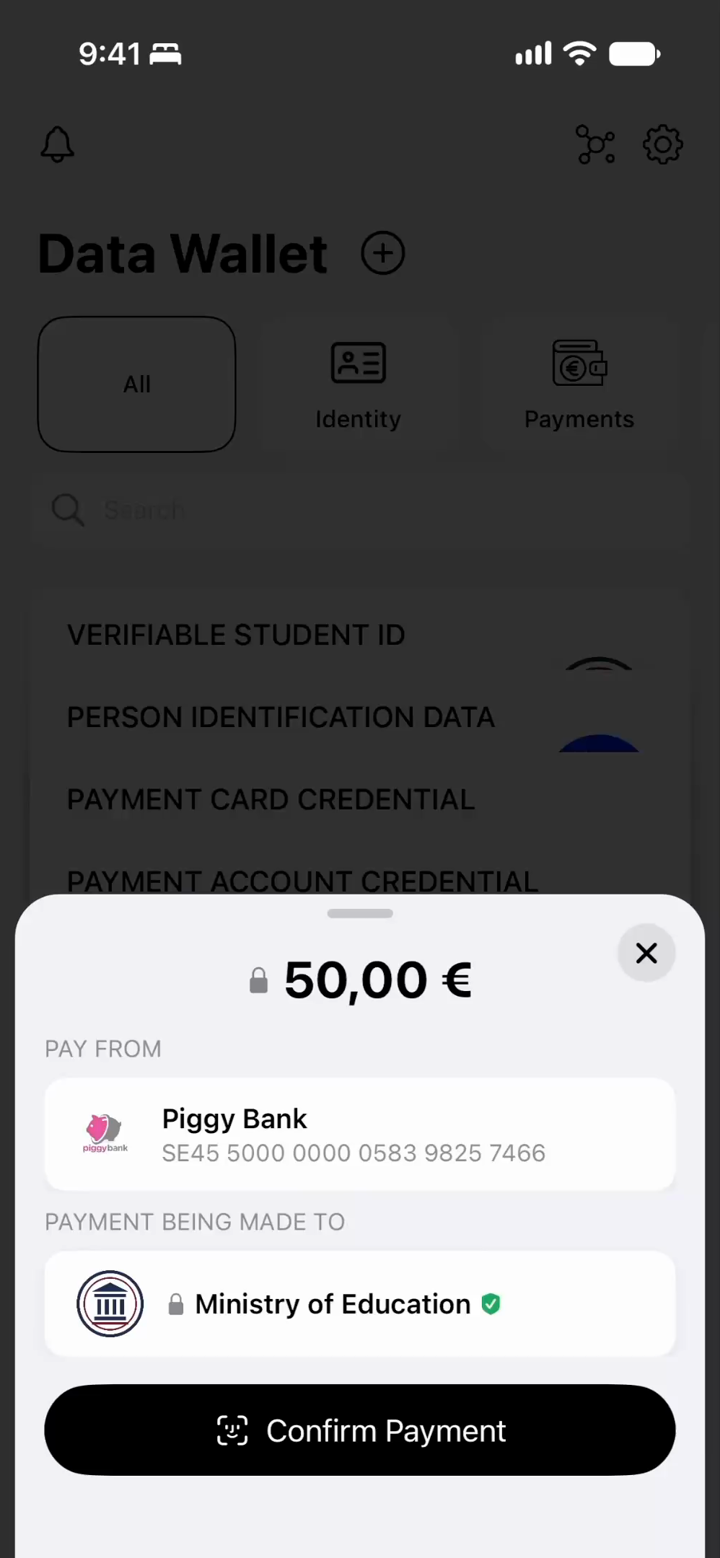
The Wallet payment sheet showing a 50 euro amount, the payment card being used, and the payee Ministry of Education, with a Confirm Payment button.
The payment confirmation in the Wallet: the amount, the chosen payment credential, and the payee.
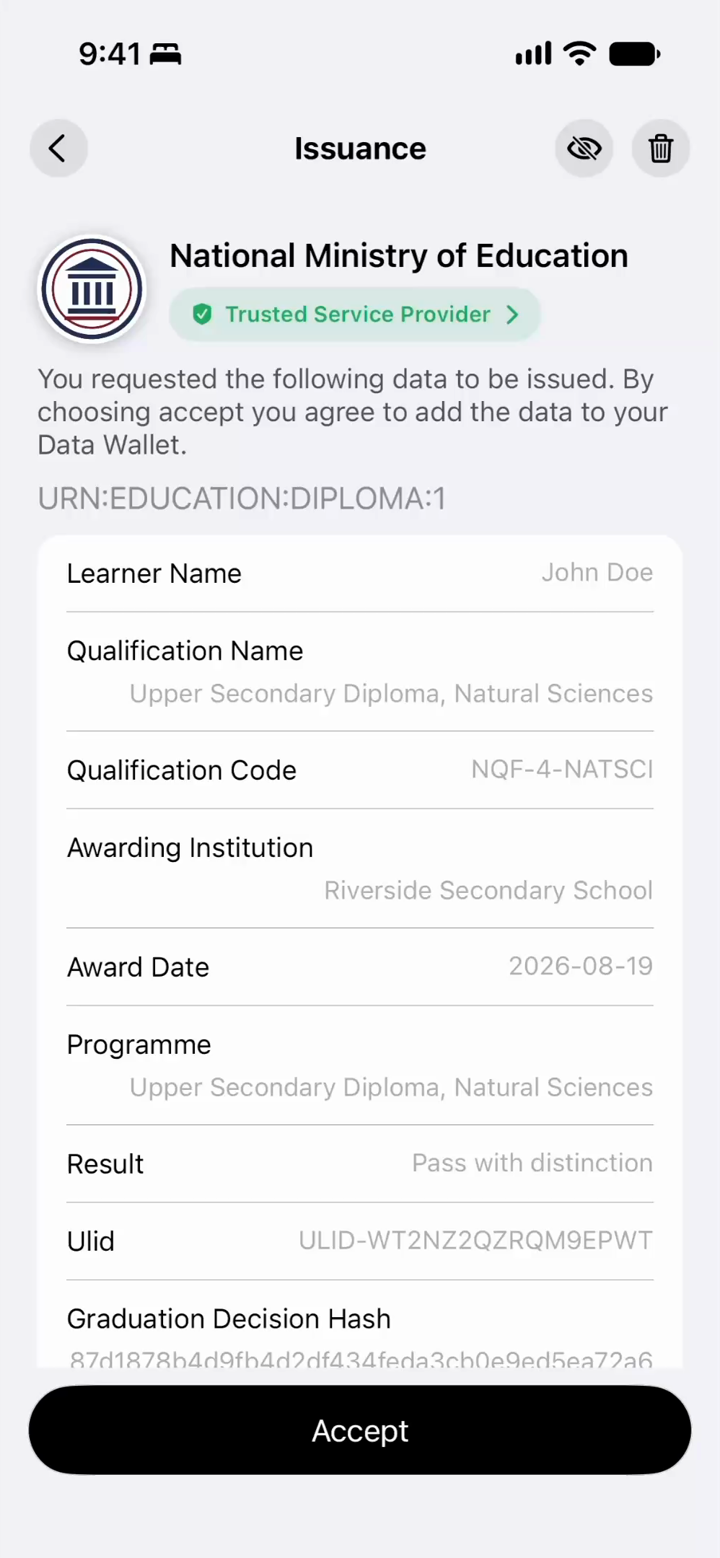
The Wallet issuance screen listing the diploma fields about to be added: learner name, qualification name and code, awarding institution, award date, programme, result, learner identifier and graduation decision hash, with an Accept button.
Straight after the payment, the diploma arrives in the same Wallet session.

Step 4: Apply for a job, sharing only five fields

Open CivicWorks Careers, pick the role, and apply with your wallet. The employer requests exactly three identity fields and five diploma fields; nothing else leaves the Wallet. The form fills itself from the shared data, and the diploma attestation becomes the evidence of qualification.
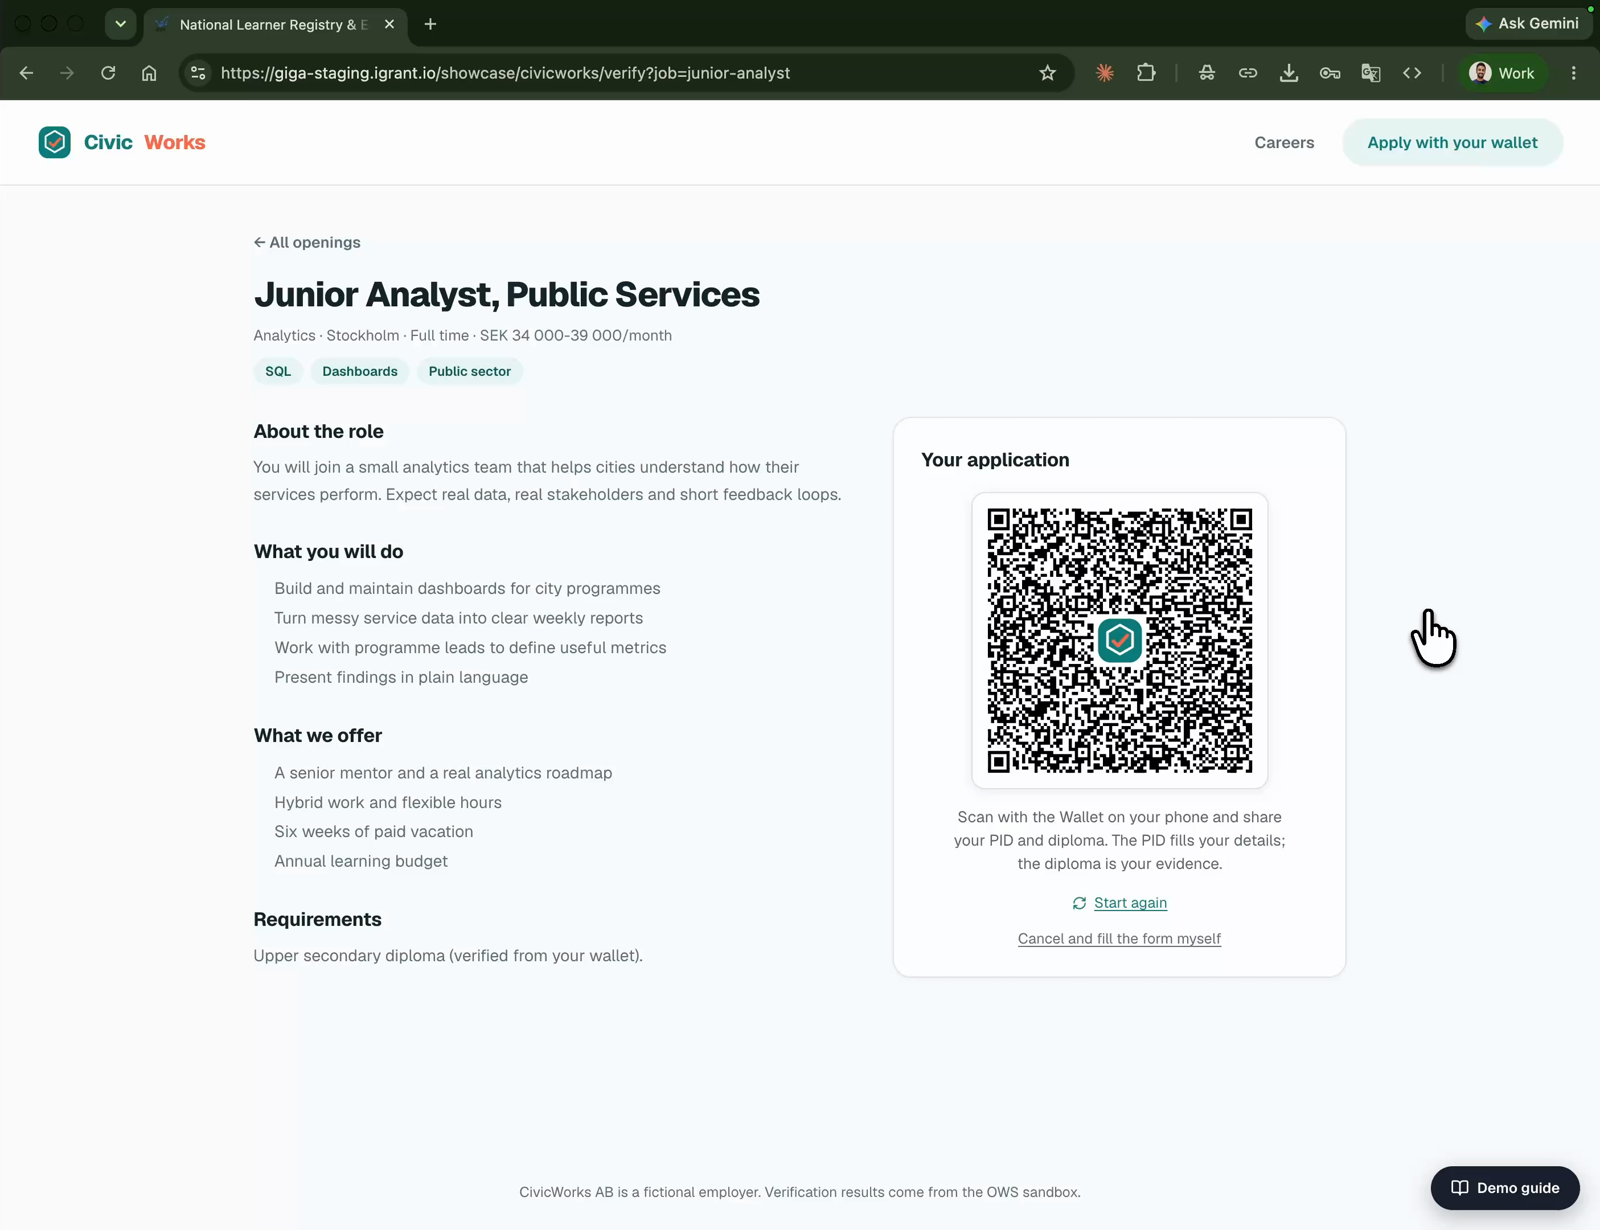
A job listing for Junior Analyst, Public Services on CivicWorks Careers with a QR code inviting the candidate to apply with the wallet on their phone.
The job application QR: the employer's verifier asks for a person identification and diploma presentation.
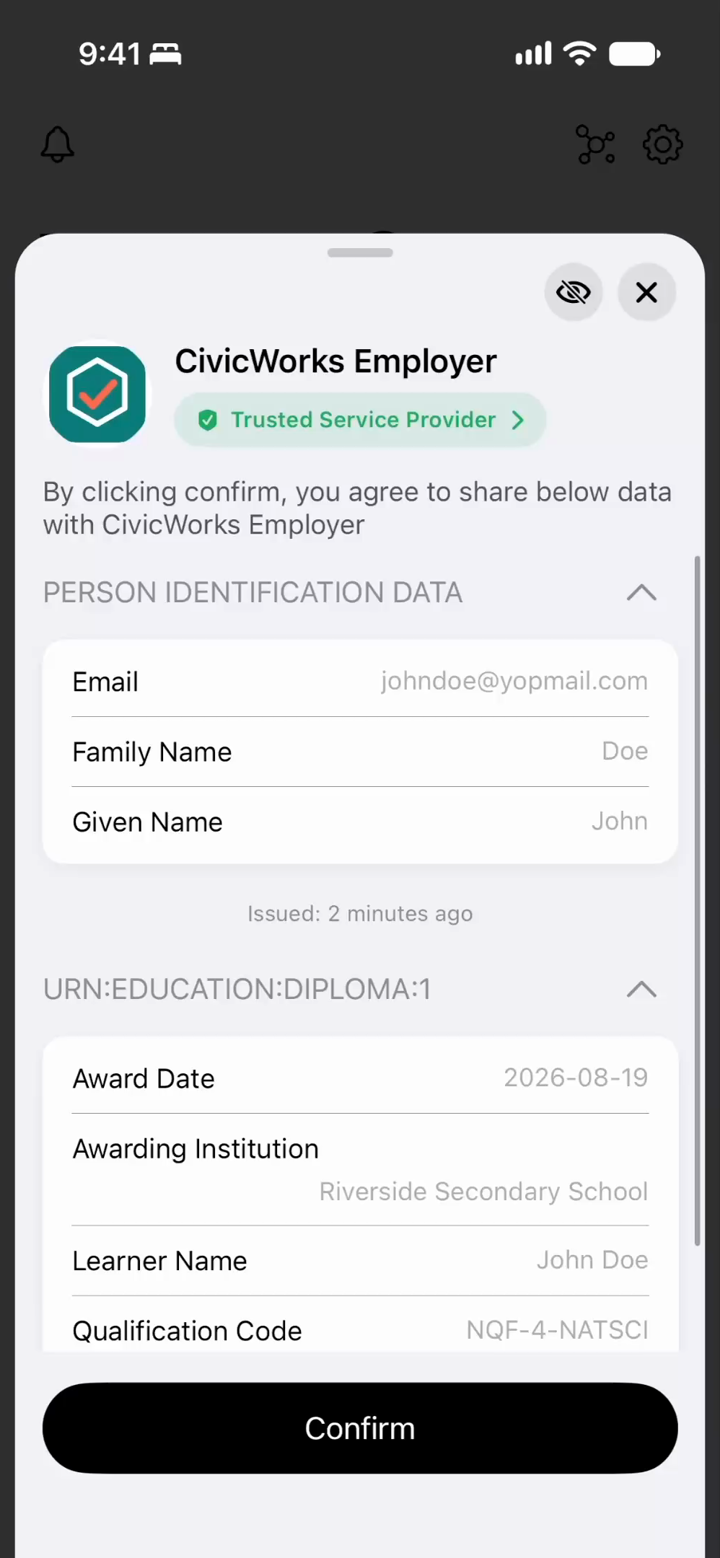
The Wallet consent sheet for CivicWorks Employer expanded to show the exact fields being shared: email, family name and given name from the identity credential, and award date, awarding institution, learner name and qualification code from the diploma.
Selective disclosure in action: the Wallet lists the precise fields, and only those, before Confirm.
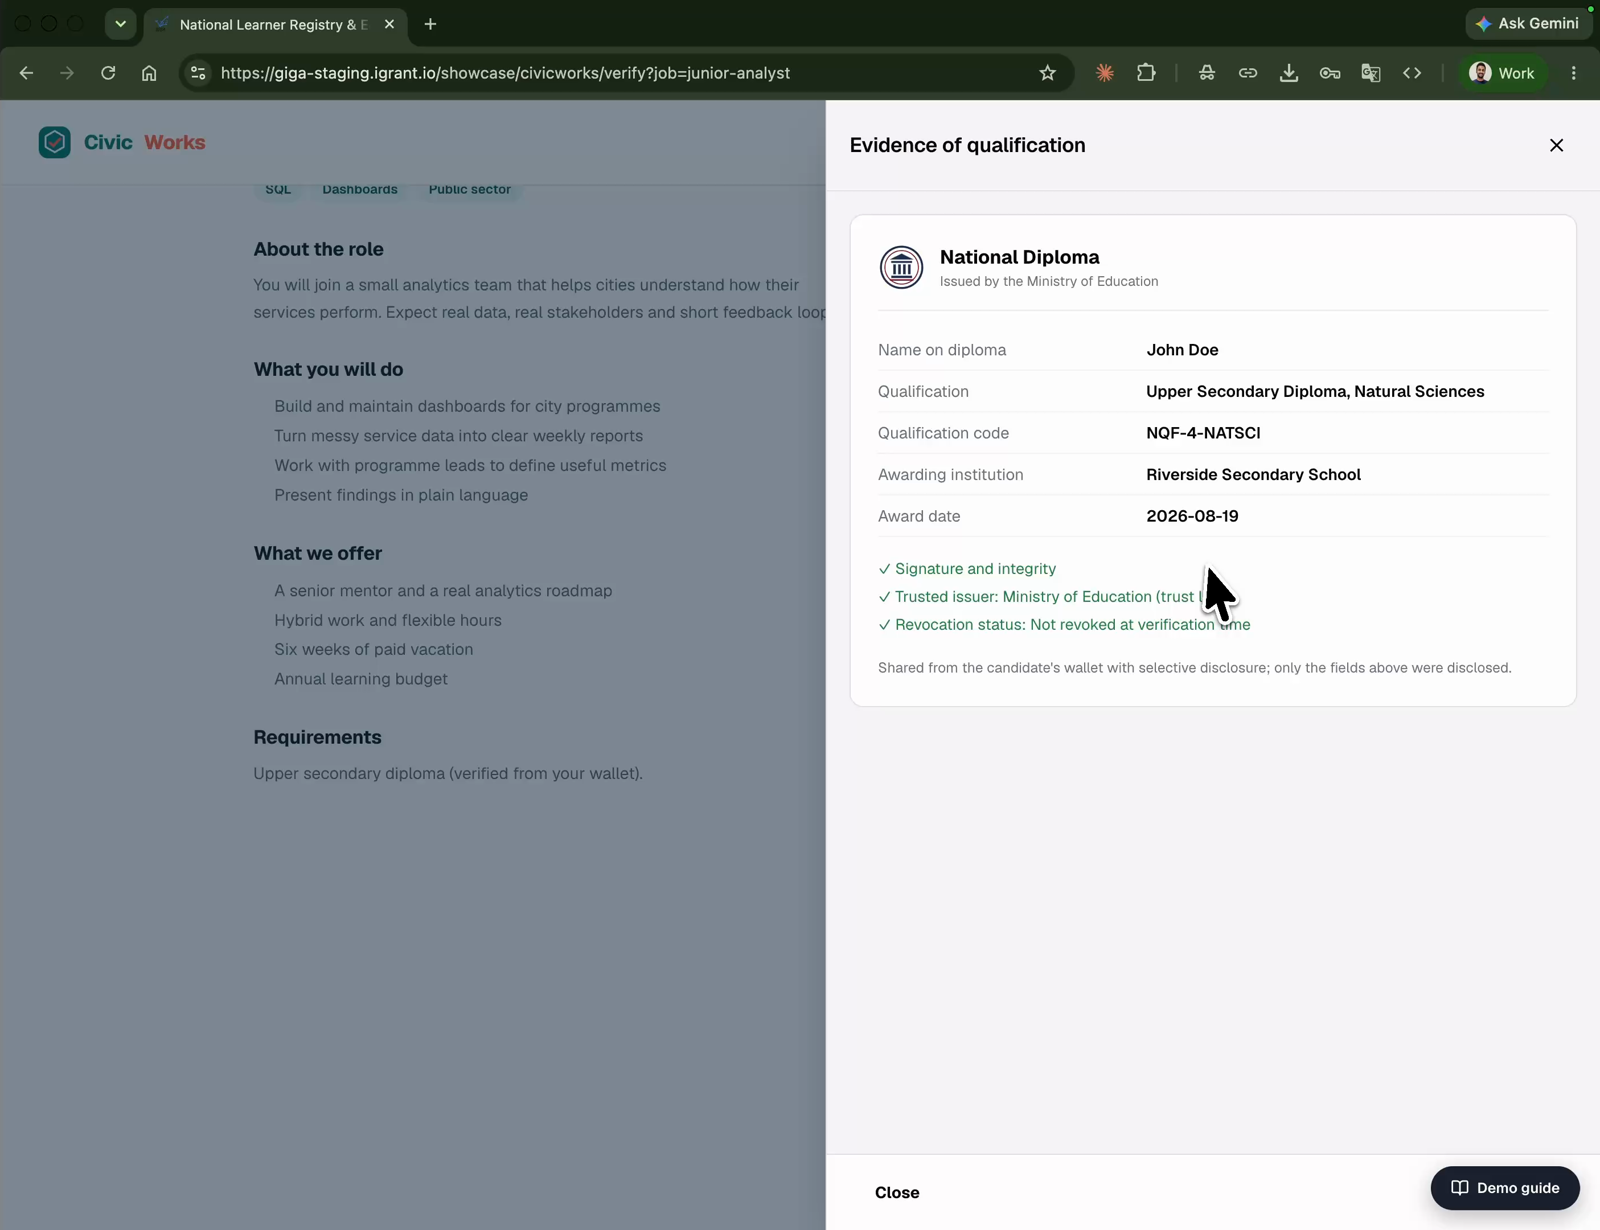
The CivicWorks evidence of qualification panel showing the verified diploma with signature and integrity confirmed, the trusted issuer Ministry of Education from the trust list, and the revocation status not revoked at verification time.
The employer's proof: signature integrity, a trusted issuer from the trust list, and a live revocation check.

Step 5: Revoke and see trust in action

In Riverside Admissions, revoke the issued diploma; the registry processes it immediately and permanently through a status list. Apply again at CivicWorks: the verification must now reject the credential. Close on the registry audit trail, an append-only, hash-chained record of every step, including the automatic processing.

What is real and what is simulated

Wallet sign-in, credential issuance, verification, selective disclosure, revocation, and consent all run against live issuer, verifier, and consent services with x509 trust anchors registered on a trust list. The civil registry check, the payment ledger entry, the institution signature, and the education service registry are labelled sandbox representations. Every person and organisation in the showcase is fictional. The exact schemas are on the next two pages: credentials and presentations and data agreements.